The Hanged Man is a freeware horror adventure game by Uri made in WOLF RPG Editor. It is the fourth game in the Strange Men Series.
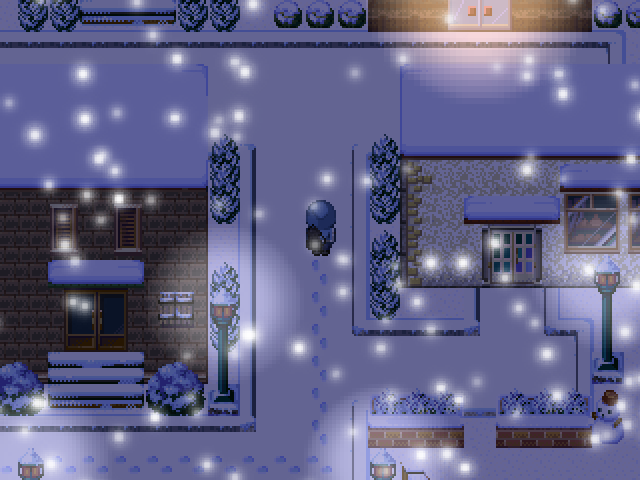
A boy walks through the snow, wandering around town.
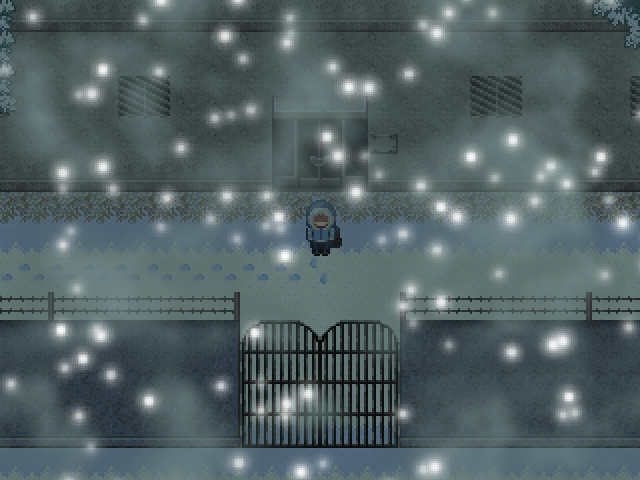
After running from place to place, he ends up in an old, abandoned building in the woods.
Though he hoped to leave soon, when his best friend runs away, he must face his trial and go in search of him...
(Content Severity: Discretion Advised)
Click here for content warnings.
Blood, murder, and suicide.
Themes of mental illness and delusions (the main setting was at one point a mental hospital).
Talk of parental abuse and beating.
Body mutilation in one of the bad endings (specifically Bad End 2).
Some minor jumpscares (images that show up for a split-second while walking along).
A sort of chase (somewhat slow-paced) near the end.
An instance of animal death.
Swearing.
The Strange Men Series
The Crooked Man | The Sandman | The Boogie Man | The Hanged Man
Download The Hanged Man (Version 2) | (Mirror)
(Chrome may falsely flag the download as malicious, but it's safe to ignore.)
The Hanged Man is now available on Steam for $3.
The game will remain free here, but you can show Uri your support by purchasing it.
Supported Platforms
The game's engine is made for Windows only, with no native support for other platforms. To play on Mac, you can try a general-purpose tool like WineBottler.
Usage Notes
Videos are allowed, but should not be profited off of, with the exception of YouTube monetization. Live streams are allowed.
Fanworks are generally allowed and can be sold. However, you should not sell anything that uses any specific resources from the game.
Troubleshooting
Make sure to extract the game to its own folder instead of running directly from the ZIP file. If you don't do so, any saves made will be lost the next time you run the game.
If pictures aren't appearing where it seems they should, you must run the game as an administrator. Right-click Game.exe, go to Properties, and under the Compatibility tab, check "Run this program as an administator."
(The first such picture should be a closeup of the main character at the very beginning.)
You may get an error about Game.dat not being found if the game folder's filepath contains special characters (accents, etc.). This can be fixed by moving the game folder somewhere without special characters in the path. There may also be errors when running in certain locales, but it should always work in English or Japanese locale.
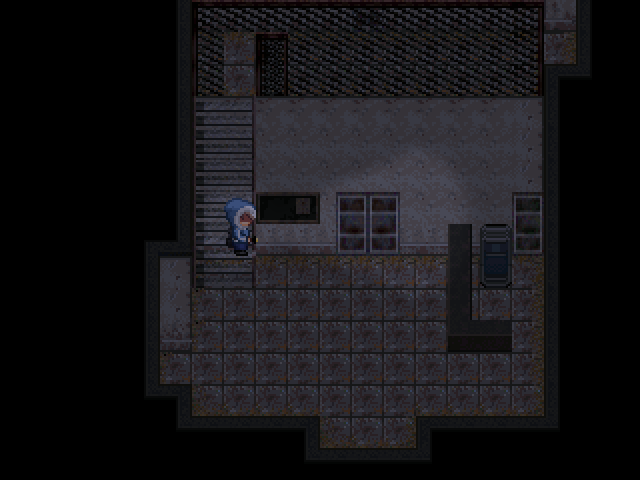
Screenshots
Walkthrough
I've provided a walkthrough. It gives the steps to reach the end and information on the endings. The endings branch based on one decision around the middle of the game, and one at the end.
Click or highlight the black boxes to show spoiler text.
Walkthrough
Around Town
Enter the fishing shop in the upper-right of town.
Inspect the old fishing rods on the left.
Go upstairs and into the room at the end of the hall.
Inspect the bed.
Walk through town to reach a motel.
Talk to the owner, and use the Key (from the menu) on Room 103.
Talk to the owner again, and use the Key on Room 105.
Watch TV.
Go in the cafe and sit at the table in the top-right.
Walk left and into the restricted area.
Continue along and jump down the cliff.
At the building, go left and through the hole in the wall.
Walk to the right and check the vent to go inside.
Building 1: Lower Floors
Grab the Flashlight.
Proceed ahead and take one of the Spray Cans by the graffiti.
In the room full of chairs, check on the person in the middle (with the flashlight on), then enter the right door of the booth.
Exit the auditorium to the Reception Hall.
Enter the door behind the counter on the right side of the Reception Hall and take the Key (Gate No. 1) from the rack.
Back in the Reception Hall, go up the stairs and to the right.
Get Area Map 1 from the bulletin board in the hallway. (You must have the flashlight on to take maps.)
Enter the left door (Staff's Lounge) and get the Storybook on the table.
Take the right exit in the Staff's Lounge. Get the Dusty Notebook on the table, and the Key (Visiting Room 3) behind the cover on the wall.
In the hallway, take the stairs down.
Use the Key (Gate No. 1) on the gate there (left of the Visiting Room door).
Enter the Dining Room in the next hallway, then the Kitchen in the back, then the Store Room to the right.
If you've been in the confession booth and have the Spray Can, an event will begin as you leave.
Turn off your flashlight and hide behind the shelves. (Or don't, it doesn't really matter.)
Building 1: Upper Floors
After the scene with Keith, leave the Dining Room and go up the stairs to the left.
Keep going up stairs, and Will will eventually realize he's going in circles.
Check the black smear next to the stairs, then use the Spray Can to mark 3F and end the loop.
Go downstairs to 2F (one floor below the spraypaint-marked 3F).
Head right, and blood will appear from one of the doors.
Go inside and look under the bed to find a letter to Alec.
Backtrack a little to the Visting Room hallway. Enter the left door (now ajar).
Use the Key (Visiting Room 3) on the door to the opposite side of the Visiting Room.
Get the Knife under the table by the leftmost chair. (You must have read the letter.)
Return left past the Dining Room and up the stairs.
On 4F (one floor above the spraypaint-marked 3F), you'll see Pop, who runs under a door.
Enter the door left of the concrete-covered one and go through the hole with light seeping through.
After the scene, go upstairs to 5F. You'll hear sobbing.
Enter Room 1508 (8th room from the left), in which it stops. Read the writing on the desk.
Go up to 6F and get Area Map 2 from the bulletin board. Try to leave, and the lower-right door will open.
Enter the open door and proceed to the Back Room.
Try to open the door to the other Examination Room, then walk back.
After the scene, enter the right Examination Room for the Key (Document Room).
Also, talk to Keith again and check the bag on the table before leaving.
Go all the way down and back to the Reception Hall.
Enter the Office behind the counter. Unlock the door inside with the Key (Document Room).
Get the Tarot Cards on the floor.
Push the ladder up to the top-left space (all the way left, then all the way up) and climb up.
Get the Tabloid on top of the shelves.
Building 2: Part One
When you leave the Document Room, the left door in the Reception Hall is open, so go in.
Get Area Map 3 from the bulletin board in the Lobby. Check the flowerpot in the lower-left for a scene.
Return to the Lobby (left of the Reception Hall) and check the flowerpot again to find the doll missing.
Enter the door to the left of the counter (Nursing Station) and read the notice for an optional hint.
Follow the path through the gate and enter the Supply Shed directly across from the stairs.
After the scene, check the toolbox up on the shelf, ask Keith to get it down, and take the Screwdriver, Crowbar, and Hammer.
Go upstairs and enter the Nursery by the stairs. Read the Boy Who Cried Wolf storybook.
Go into the neighboring Pediatrics room and look at the child's drawings and the conversation log.
Once you've seen all three of these things, you can start on the puzzle.
Hint:
There are four empty toy houses in Pediatrics. You have to hunt down the four who got away.
Solution:
Find the four dolls in Building 2 - Lisa's shadow shows up near all of them - and use the Knife on them.
1. 1F, Nursing Station (from door in Lobby), top-right.
2. 1F, Counseling Room 2, under the chair.
3. 2F, Examination Room 3, under the bed.
4. 2F, Staff's Room Bathroom, open drain with Crowbar.
In addition, enter the women's bathroom across from Examination Room 4 on 2F and find the headless doll in the far-left stall.
(For it to appear there, you must have first re-checked the flowerpot in the Lobby to notice that it's gone.)
Once you're done with the four dolls and the headless one, you can "go anywhere," and thus open the gate by the Staff's Room on 2F. Go downstairs.
After the scene, return to the Visiting Area (where the scene began). Get Area Map 4 from the back wall.
Attempt to proceed past this room, and you'll find you can't. (Doing this is necessary to start the puzzle.)
After checking the cloth on the middle table, you can use the Tarot Cards item to not only view the cards, but ask Sophie about their meanings.
Place the cards on the cloth correctly, and you'll be able to proceed past the Visiting Area.
Hint:
There's an item from early on that you should follow.
Solution:
Place the cards that match the words in the Dusty Notebook, with a future of "salvation" instead of "ruin."
From left to right: The Emperor (Reversed) = tyranny, The Moon (Upright) = unease, Judgement (Upright) = salvation.
Proceed ahead. Enter Room 2103 (where the shadow goes under the door).
In the bathroom, check the bath to find the headless doll again.
Enter Room 2110 (which you'll hear a sound from), and get Note 2 and the Wooden Box.
Go upstairs to 2F and use the Hammer on the wooden framework in the hole in the wall. Go inside the hole.
Check the debris on the floor to notice a hole in the ceiling. Move the table, then move the chair on top of it, then climb up.
The door in the upstairs room is broken, so you have to leave from the hole in the bathroom wall.
(Note: When you want to go back down to 2F, you have to go down via the hole.)
Enter Room 2305 (the door of which is ajar).
Check the card on the wall four times to get the code for the security box: 5534.
Unlock the security box and get the Black Notebook.
With the Black Notebook, go upstairs to 4F and enter the Dining Room for a scene.
Ending Branch Point
Going after Sophie to talk to her leads to the bad endings.
Not going after Sophie in time leads to the good ending.
You have about 8 seconds after the scene ends (while you can still hear her footsteps) to go after her, then she'll be gone.
Check the top-right table in the Dining Room (as indicated by Note 2) to get part of a Torn Label.
Head into the Kitchen, then into its Store Room to find Ed.
Building 2: To the Basement
After the scene in the Kitchen Store Room, use the Screwdriver on the boarded-up transport elevator there to get inside.
Go all the way down the ladder, and in the underground passage, enter the elevator shaft on the right.
Climb up and enter the elevator car to get the Key (Library).
Return to the underground passage, go to the Water Storage Tank room, and inspect the doll up the ladder. Leave for a scene.
Return to the Water Storage Tank and get the Headless Doll on top of the ladder.
Go outside via the left exit in the underground passage, and check the drain.
Climb up the middle elevator shaft back to the Kitchen, and get the Sieve from the counter.
Go back down and outside, and put the Sieve on the drain. Then turn the valve in the bottom-right of the Water Storage Tank room.
Get Keith's Ring from the drain outside, and return to the Control Room to give it to him.
Also, check the second locker from the right in the Control Room to get another Torn Label piece (as indicated by Note 2).
Go up the middle elevator shaft to 4F, then upstairs to 5F, and open the Library with the Key.
Walk over to the right then back to trigger a scene. (You have to have given Keith back the ring.)
Hide from the shadow. He goes left to right turning on all the lights, then runs back most of the way left.
If you keep away from him at the start and then just stand in the far bottom-left, you'll be safe.
If you get caught, you just get a shorter scene.
Head back downstairs to 1F, then up the stairs on the right side through the Visiting Area.
Continue and go downstairs to the sandbag-blocked stairs opposite the Supply Shed. Climb over them to go down.
Enter Medicine Storage on the left and check the open book on the table for a scene.
Open the middle locker third from the left for the last Torn Label piece (as indicated by Note 2).
Solution: Use the Wooden Box and press the numbers in order - 356142 - to open it and get the Letter to Patient.
Enter the Doctor's Lounge and read the letters in the trash.
Hint: You have to put the Headless Doll on one of the desks.
Solution: Put the Headless Doll on Dennis Syniar's desk, as he's the one who had to take a vacation due to Alice's gifts.
With the doll placed and having had the Medicine Storage scene with Robert, a shadow will appear when you leave the Doctor's Lounge.
Follow it out to the Reception Hall, and enter the ajar door at the top.
Buildings 3 and 4
Get Area Map 5 from the bulletin board.
Enter the Staff's Room and get the Sunnyside Map from the shelves.
Enter the Kitchen and read the diary.
Go upstairs and enter Room 3202 (second from the right on the upper side), and a shadow will begin following you.
Hint:
Carry out the request given by the map.
Solution:
Go inspect the drawings depicting each area in the order given.
Check Oak Park (1F Kitchen), Sunnyside Village (3F Shower Room), then Sunnyside Bay (1F Day Room).
You'll know it counted if you see the shadow looking at the drawing as you leave.
After the scene, go up to 4F. Enter the taped-up Room 3408 (which opens after you solve the map puzzle).
If you've read the staff diary in the Kitchen, tried to walk past the room, and read the notice in the hallway, you'll be able to interact with the chair.
Solution: Push the chair into the top-left-most position and make it face upward.
When it's positioned correctly, you'll get an option to sit in it. Select that. Afterward, go out and tear the notice off the wall.
In Building 4, get Area Map 6 from the bulletin board.
Go upstairs up to the 5F Day Room and look at the artwork on the wall.
Go down to 3F and try to walk past Room 4305. You must then do something special in order to get past it.
Hint:
There's one person who Kenny doesn't like.
Solution:
Put on Sergio Bowers's nametag from the Letter to Patient (which you get from solving the Wooden Box).
The five nametags in the Staff's Room are just red herrings.
On 2F, you'll hear a sound. Enter the ajar door and read the writing on the floor.
Solution:
Use the Spray Can to paint over the person-shaped red stains in this room (Room 4205), the 2F hallway, and the 4F Shower Room.
Once they're all covered, the sound on 2F will stop.
Go down to 1F and check the gate (after taking care of the demons) for a scene. You'll then be trapped in Room 4106.
Solution: Inspect the door and choose "Check the door handle." Then use the Card.
After getting out, go back upstairs to 5F.
After the scene, you'll see Keith heading down to 3F.
Endgame
There are four branches depending on two factors:
1. (Earlier) Whether or not you followed Sophie when she left and made a promise with her.
2. (Right here) Whether or not you get Keith's pistol (from the 4F Shower Room) before talking to him and give it back to him.
- Ending Routes
- BAD END 1: Don't go after Sophie, don't give back the pistol.
- BAD END 2: Go after Sophie, don't give back the pistol.
- BAD END 3: Go after Sophie, give back the pistol.
- GOOD END: Don't go after Sophie, give back the pistol.
You get Good End 1 first, and on the second playthrough, it's Good End 2.
"Didn't Go After Sophie" Routes (GOOD END or BAD END 1)
Go down to 3F to tell Keith about Ed. Go back up to 4F, and you'll see Pop and chase after him.
After the brothers' conversation, make your way to the front entrance.
When Keith gets wounded, go the Staff's Room on 1F to get towels, then return to Keith on 4F.
If you're on Bad End 1, you have to return to the room on B1F after running away from it.
"Went After Sophie, Didn't Give Back Pistol" Route (BAD END 2)
Go down to 3F to tell Keith about Ed. Go back up to 4F, and you'll see Pop and chase after him.
After the brothers' conversation, enter the storage room to the right and find Sophie.
Afterward, make your way to the front entrance.
When Keith gets wounded, go the Staff's Room on 1F to get towels, then return to Keith on 4F.
"Went After Sophie, Gave Back Pistol" Route (BAD END 3)
Go down to 3F to tell Keith about Ed. Go back up to 4F, and you'll see Pop and chase after him.
After the brothers' conversation, make your way to the front entrance.
Good Ending Escape
Advice
You can take your time, sort of. Ed only appears once you move into the room (if he's following directly) or walk past a certain point (if he's using a secret route), so you can stop and think at the start of each room.
You'll eventually get caught if you take the standard path, so the goal is to quickly get to the building-connecting passages, marked with double-sided arrow symbols on the maps. (This is presumably being hinted to by the fire notice in the Reception Hall, which says to "leave the building by the nearest exit.")
Directions
Building 4
2F Hallway: Go around and upstairs.
3F Hallway: Go around and upstairs.
4F Hallway: Head directly right and through the right door.
Connecting Walkway (4 to 3): Go right across the walkway.
Building 3
4F Hallway: Head right and go downstairs.
3F Hallway: Go left and through the left door.
Connecting Hallway (3 to 2): Walk through the connecting hallway.
Building 2
3F Hallway: Walk down and go up the stairs on the left.
4F Hallway: Walk right and go upstairs.
5F Hallway: Enter the door to the right.
Connecting Hallway (2 to 1): Walk right and up the small stairs.
Building 1
6F Hallway: Go through the gate and down the stairs.
5F-2F Hallway: Keep going down the stairs to the lowest floor.
(Ed will come out of a door on 3F (the one with the circle mark), so watch out.)
Dining Room Hallway: Go all the way right and through the right door.
Visiting Room Hallway: Go right and upstairs.
Staff Room Hallway: Go all the way left and through the door.
Reception Hall: Go down the stairs and out the front door.
Woods
Just head toward the south exit.
Some parts are small loops, so you can still save yourself if you end up on one.
If you continue onto a second playthrough after Good End 1, there are some additional scenes.
The first is when you read the writing about demons on 2F of Building 4, and the rest are during the good ending route.