
The Sandman is a freeware horror-style adventure game by Uri made in WOLF RPG Editor. It is the second game in the Strange Men Series.
For days now, Sophie Grundler has been unable to sleep.
Bullied at school, and her father busy with work, she simply has to endure.
Then one night, the clock in her room stops ticking...
(Content Severity: Very Mild)
The Strange Men Series
The Crooked Man | The Sandman | The Boogie Man | The Hanged Man
Download The Sandman (Version 3) | (Mirror)
(Chrome may falsely flag the download as malicious, but it's safe to ignore.)
The Sandman is now available on Steam for $3.
The game will remain free here, but you can show Uri your support by purchasing it.
Supported Platforms
The game's engine is made for Windows only, with no native support for other platforms. To play on Mac, you can try a general-purpose tool like WineBottler.
Usage Notes
Videos are allowed, but should not be profited off of, with the exception of YouTube monetization. Live streams are allowed.
Fanworks are generally allowed and can be sold. However, you should not sell anything that uses any specific resources from the game.
Troubleshooting
Make sure to extract the game to its own folder instead of running directly from the ZIP file. If you don't do so, any saves made will be lost the next time you run the game.
If pictures aren't appearing where it seems they should, you must run the game as an administrator. Right-click Game.exe, go to Properties, and under the Compatibility tab, check "Run this program as an administator."
(The first such picture should appear in the shower during the intro.)
You may get an error about Game.dat not being found if the game folder's filepath contains special characters (accents, etc.). This can be fixed by moving the game folder somewhere without special characters in the path. There may also be errors when running in certain locales, but it should always work in English or Japanese locale.
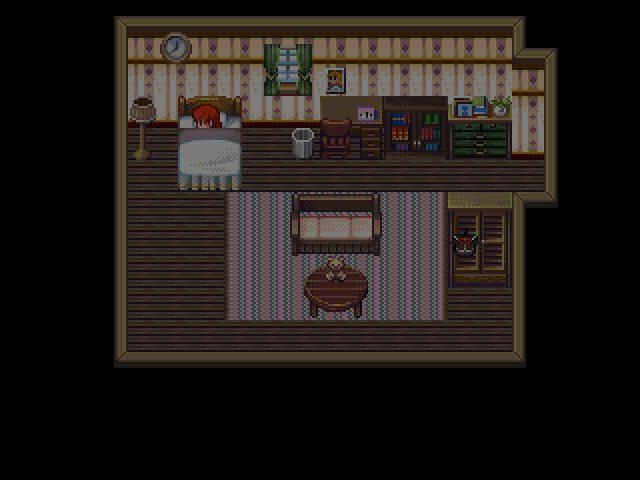
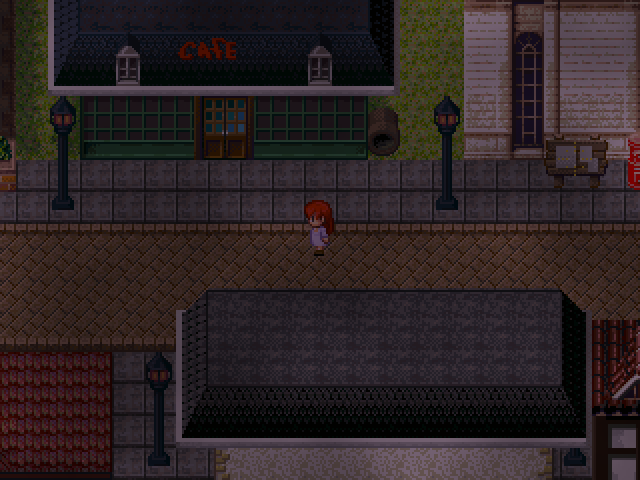
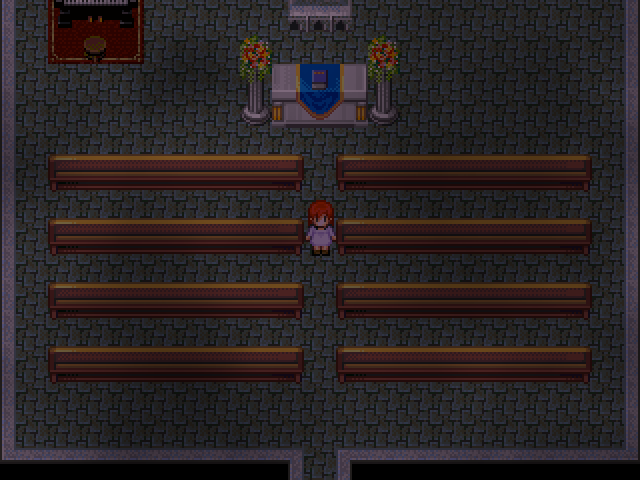
Screenshots
Walkthrough
I've provided a walkthrough if people get stuck. Click or highlight the black boxes to show spoiler text.
Walkthrough
Loren Catholic School
After leaving home, get the town map on the nearby board (right past the cafe right of Sophie's apartment). Wander around until you meet someone in the central park.
Go southwest to find the school. Check the locked gate. Go up a screen and into the shack on the right to get a ladder. Return and use it (from the menu, while standing by the wall) to climb the wall.
Check the front door, then go check the shiny spot on the left to get a shovel. Use it to open the door.
Go east to the dorms, then to the second floor to find Anne's room. Once you don't find her there, go to the chapel (across from the stairs on 2F).
Searching for Anne:
Hint: The shadows are all lying, so use them to know where not to look.
Answer: Go to the cafeteria (right of the stairs on 1F) and into the kitchen. Push the box blocking the lower entrance.
Blumberg Shopping Mall
Go to the mall, south from the park with the cutscene. Check the door, then the security panel. Go left and up a screen, and check the car on the road to enter it and get the security card.
Open your inventory and check the card. Return to the security panel and enter the code.
Hint: The numbers on the panel tell you which numbers from the card to use.
Answer: 241917
Go up to the top floor and to Theater B on the right. Open the door slightly to look inside.
Take the back entrance to talk to Regan. Check the far-right desk two rooms back for cutters, and use them to cut the ropes. (Or just get the cutters before talking to Regan.)
Get the cardboard box which falls down and put it on. Make your way down the floors. Watch the patterns and make sure to stay still while squatting most of the time, only moving when they're not looking.
On the first floor, use the doll to distract the soldiers, then run out. Go meet David in the northern park.
JP Gordon & Chase
Go to JP Gordon & Chase in the northeast. Check the card reader and the employee poster.
Go to the subway in the southeast of town. Open the gate with the passcode.
Hint: Check the cellphone.
Answer: 120000
Check the sleeping person behind the gate for an employee pass, and return to JP Gordon & Chase and use it.
Go up to the third floor and enter the one open room. Check the photo on the desk.
Go up to the top floor and enter the open room. Run out of the building.
After being knocked out of the building, go back in. Leave again and get the tooth outside.
Go to the central park. Follow the shadow to the apartment, and go upstairs.
Going to the Sandman's House
Navigate the forest. (Taking the wrong path will take you to the same area.)
When you reach the swamp, stay as far away as possible as you walk by, or you'll get grabbed. Talk to Nixie afterward. Go back a screen and enter the house.
Show Sophie's tooth to the Tooth Fairy, and he'll refuse it. Then go to Nixie to ask about Tibbyoung Grass. Return to the forest to find it and use its dew on the tooth, then give the Tooth Fairy the baby tooth for a coin to give to Nixie.
Continue on and check the small house. Go back to the plain and enter the log (Littlogrow), exit it, and check it again to take it with you, then place it in front of the house.
The Sandman's House
Go up the stairs and through the middle door. Go through the tile maze (from the entrance: up, up, right) and press the switch at the end to disable the tiles.
In the next room, try to open the far door, then walk back. Let yourself be caught. Keep refusing to eat the food.
Pick up the memo in the entryway. Continue past where you encountered the Sandman.
In the left room, get the note from the wall. Go to the right room and talk to Lullaby, then show them the memo and the notice to have them read.
Go through the room of fire-breathing statues. (For the last ones, note how the flames come out six times, then there's a break.) Pull the lever in the next room to disable them.
Navigate through the maze of clear glass walls. Your goal is the left door, not the stairs in the middle, and there are no forks in the path. Get the red bottle in the next room and use it in the maze room to mark the path.
Enter the bottom door in the small medicine room. Then run. (You want to have the emerald flame down so the Sandman falls down the hole.)
Enter the door where the Sandman started chasing you. Grab the mirror on the table to get around the castle faster. Keep going through the mirror (reverse controls) room.
When the statue starts singing, do four of these five things to wake yourself up: bang head on statue, play music with cellphone, splash face with bucket of water, yell out a window, or use the stick (if you have it already). Make sure not to use the mirror here, or you'll lose it for the rest of the game.
Working with Unicorn
Leave the house (you can use the Magic Mirror to warp to the entrance) and go east to find Unicorn.
Back in the house, go right to find a Dust and a fallen painting. Talk to it, and you'll notice the code that was hidden behind the painting.
Warp to Medicine Storage and use the code on the left door. Numbering the jewels 1 to 8 from left to right, it's 32754168.
Inside the sandy room of shelves, get the stick and a sack from the wall. Hide in the closet once prompted.
Go right from Medicine Storage to the glass maze. Face the unreachable stairs, then use the stick to break the wall. Pick up one of the glass shards.
Go up into the room of jewels. Take the pink jewel... but you'll die if you take this to Unicorn.
Go up and get Notice 2 from the wall in the back room. Show it to Lullaby in the Tea Room to have it translated.
Return to the back room and wash the jewel in the water bucket. Once you've had the note translated, you can use the machine to make a real pink jewel. Leave and give it to Unicorn.
There's a significant choice after you give Unicorn the jewel.
I want it back: Leads to two possible bad endings.
You can have it: Leads to a bad ending or the good ending.
Go west to the cave and check the entrance to talk to Dwarf. Get the cage to the left and catch the Glimmers on the screen left of that. Then enter the cave.
Go back to the Sandman's house and to the fire-breathing statue room (right from the Emerald Flame Room). Use the stick to help the Dust for the Translation Lenses. (If you never had Lullaby read the memo or notices, you can put them on to read those now.)
Go to the world map room (south of Medicine Storage). There's a hole in the bottom-left; go down it and get the Somewhere Key.
The Somewhere Key unlocks the door in the statue room, but first, collect the sleeping sand ingredients from the first/second floor areas. Put a piece of Crygel in the empty bottle, pick up a Snora fruit, and cut off the Caterlizard tail in the kitchen with the shard of glass (from the broken wall in the glass maze).
Use the Somewhere Key to open the door behind the singing statue.
In the sand-making room, get the leather gloves from the counter. Use them on the red candle to carry the flame to the pot. Grind the Snora Flora Fruit in the milling machine.
Climb the ladder and check the pot. Put in the Snora Fruit Powder and Crygel Fluid, then wait. Once the broth turns blue (4 color changes from the initial white), put in the Caterlizard tail, then it'll turn yellow. Grab the bowl on the left, and use it on the pot to bring the broth into the funnel. Push the button, and finally, put the sleeping sand in the sack from the sand storeroom.
Go to the Emerald Flame Room and raise the lever. Use the leather gloves to pick up the flame. (You can put the lever back down afterward.) Go to the small room with the candles (left in the hall before the fire-breathing statues) and light them.
In the secret room, put on the Translation Lenses and read the diary.
Go to the long corridor and enter the door in the middle. Avoid all the holes on the way up.
Endings
Bad Ending 1:
Let Unicorn keep the jewel, and kill the Sandman.
Bad Ending 2:
Take the jewel, and kill the Sandman.
Bad Ending 3:
Take the jewel, and use Sleeping Sand when the Sandman is down to 10 HP.
Happy Ending:
Let Unicorn keep the jewel, and use Sleeping Sand when the Sandman is down to 10 HP.
Bonus
Keep doing the job.
Read the secret memo. Go out and get leaves from Unicorn's lake, water from Nixie's swamp, and Truants from the forest. Go to the sand-making room (warp to Tea Room, then go left and past the statue).
Climb the ladder and put the Slimy Swamp Water in the pot. Pick up the leather gloves and use them on the candle to carry the red flame. Grind the Peachy Tree Leaves with the milling machine. Slice up the Truants on the cutting board.
Check the pot and put the Sliced Truants in. Once the broth turns green (2 color changes from the initial white), put in the Peachy Leaf Powder, then it'll turn red. Grab the bowl on the left, and use it on the pot to bring the broth into the funnel. Push the button and get the sand. Then do the job.
Read the secret memo. Go to the Tea Room to wait for Lullaby.
Read the secret memo. Warp to the entrance and go to the kitchen to make a meal. Then warp to the hallway outside Sandman's room and you'll hear Sophie coming. Go down to the long corridor and go after her.
Read the secret memo. Go to the sand-making room for the sack of sleeping sand. Enter the world map room from the Medicine Storage, then go back out and go after Sophie again.
Read the secret memo. Exit the world map room and go left to the sand storeroom.
Read the secret memo. Get the pink paints from the canvas in Sandman's room, then go to the Jewel Room and paint the clear jewel.
Read the secret memo. Warp to the entrance. After confronting Unicorn, go left.
Read the secret memo. Go to the Tooth Fairy for money, then to the bed in Sandman's room. Check the bottom-left shelves for an English book, leave the coins at the register, then return via the bed.
Read the secret memo. Go to the long corridor and use to the key on the door up to the roof. Win for the bad ending, lose for the good ending. After the battle, read the diary.
Extra Links
These contain spoilers for all aspects of the game. Only read after you've beaten it fully.
Translation Notes
Story Behind the Game