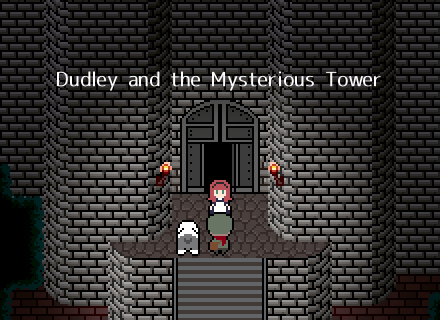
Dudley and the Mysterious Tower is a short freeware puzzle-adventure game by Sen (Miscreant's Room) made in WOLF RPG Editor.
A courier and a dog arrive at a tower
with an important delivery for the tower's master.
(Content Severity: Generally Very Mild)
Click here for content warnings.
One brief scene with killing and a little bit of blood.
An optional bad ending with implications of suicide.
Download Dudley and the Mysterious Tower 1.10 | (Mirror)
(Chrome may falsely flag the download as malicious, but it's safe to ignore.)
Supported Platforms
The game's engine is made for Windows only, with no native support for other platforms. To play on Mac, you can try a general-purpose tool like WineBottler.
(This is an RPG Maker MV port with touch support which can be played in-browser.
It also contains some extra features like portraits.)
Usage Notes
Videos and streams are allowed, but should not be monetized. Including the game's title and linking the game page in any videos of it is appreciated.
Troubleshooting
Make sure to extract the game to its own folder instead of running directly from the ZIP file. If you don't do so, any saves made will be lost the next time you run the game.
If dialogue doesn't show up or uses the wrong font (which may cause cutoff text), manually install the included fonts.
You may get an error about Game.dat not being found if the game folder's filepath contains special characters (accents, etc.). This can be fixed by moving the game folder somewhere without special characters in the path. There may also be errors when running in certain locales, but it should always work in English or Japanese locale.
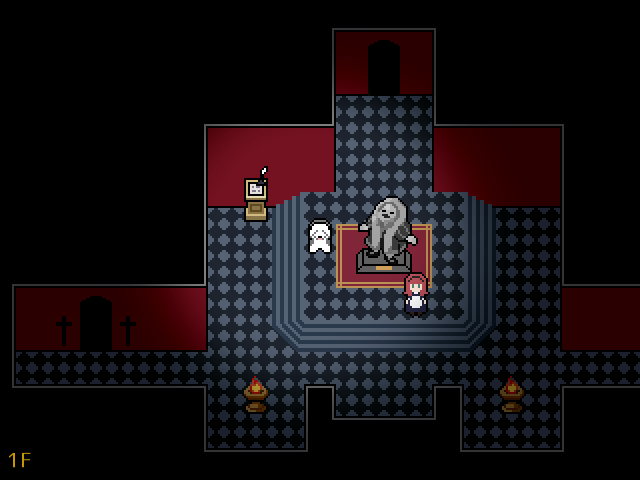
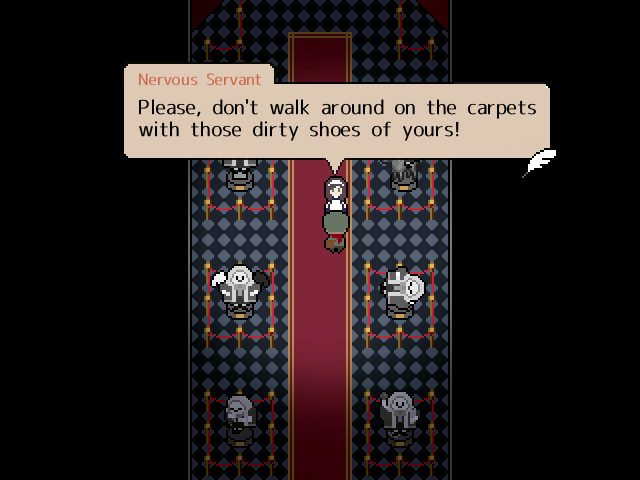
Screenshots
Walkthrough
A complete guide through the game.
Walkthrough
1F and 2F
Proceed upstairs.
Talk to the guard dog, then return to 1F to meet the fortune-teller.
Follow and talk to her to get the ability to switch perspectives.
Talk to the guard dog as the dog, then return to the previous room.
As the dog, you can see ghosts which will cause game overs if you touch them as a human.
Walk over to the dog food and switch to human to pick it up.
Remember where the ghosts are and walk back avoiding them.
(The easiest way is to get to the bottom wall, then just walk along it.)
Give Referee the dog food to gain passage.
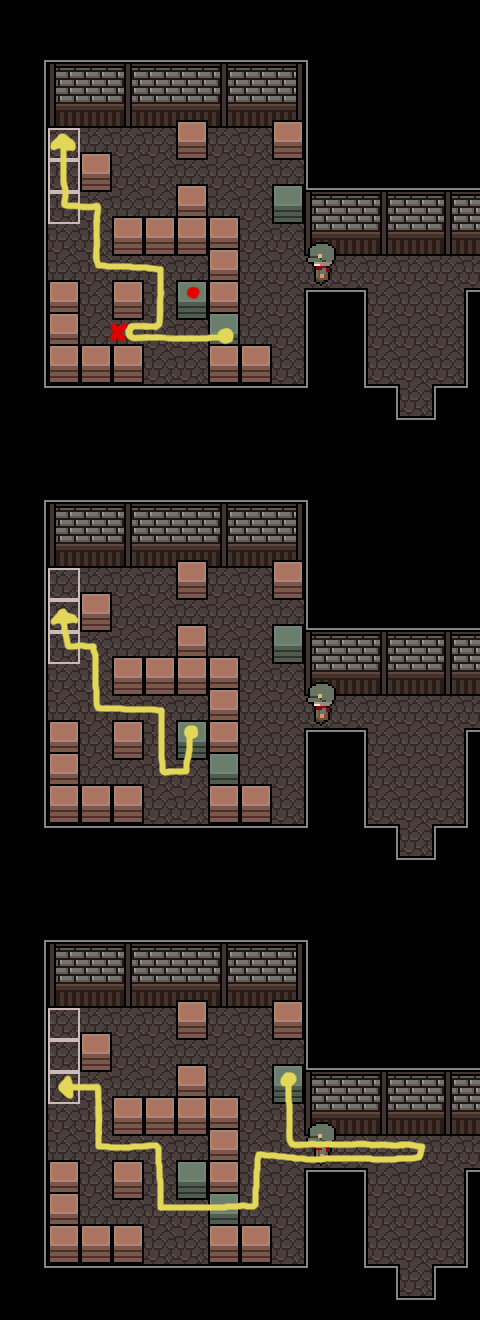
In the room to the right, push the boxes to make a path to the Torch.
3F
To get to the next floor, you must three flowers on the three pedestals.
They're found in the sections next to each pedestal.
Laurels:
Take the paths that have lit candles along them.
One of the candelabras is unlit, so when you encounter the large flame, use the Torch, then go light it.
Hyacinthus:
Match the colors of the buttons with the color of the door.
First is a blue door, so make them blue and blue (step on each once).
Second is a purple door, so make them red and blue (step on either once).
Third is a green door, so make them blue and yellow (step on one once, step on the other twice).
Fourth is an orange door, but the buttons cycle automatically. Aim for red and yellow.
Marigolds:
Use the dog perspective to see the ghosts, and follow the sign's hints.
First take the rightmost door, which has no ghost.
Second, enter the second door from the left, where no ghost ever appears.
Since "only one ghost wears a ribbon," you know said ghost has moved from the previous room.
Thus, go back one room and enter where it used to be: the second door from the right.
Place each of the flowers on the proper pedestals to make the stairs appear.
In the scene after picking up the letter, switch to the dog to dig up the item left of the tree.
4F
Go up and push the animal statues down onto the matching buttons.
From left to right: cat, horse, dog, chicken.
Since there's no dog statue, place the other three and finish by stepping on the switch as the dog.
5F
Use dog perspective to see and avoid the ghosts running around.
(If you touch them, it just sends you back a little bit.)
Press the yellow switches along the way to open up walls and doors.
Talk to the soldier and agree to find his coworker.
Head back and go into human perspective to find the one ghost still visible.
Talk to him as a human to get him to return.
6F
Try to open the blue door left of the office.
On your way back, the statue will shake. Guide it into charging at the door.
(When it shakes, it decides what direction to charge toward, so just step aside after that.)
7F
After coming upstairs, try to go back down.
Work with Ann to press the switches simultaneously.
The order is always blue, red, green (top, left, right).
You can only press the switches as a human, but must briefly use the dog to cross the weak floor.
You want to be slightly late, not early, so wait for Ann to start moving onto each switch before you go.
If you get it right, it makes a sound. Ann pauses in front of the last switch, so don't go early.
There's a Letter to Ann in the next room, which is part of an optional quest.
Talk to the Guard Pretender as a human, then as a dog to get the Pass.
Use the Pass on the guard to enter the town.
(Optional: You can give Ann the Letter to Ann here, but she'll just throw it away.
You can hold onto it for something more worthwhile later.)
Make purchases from each shop: Clover Bouquet, Plain Tart, Pear, and Paint Kit.
Go left to the pub and use the Pear in front of the bartender to get the Pear Tart.
Give the Guard Pretender the Pear Tart to lessen his requirements.
In the pub storehouse, get the Cloth.
Push the green boxes into the top-left spaces.
(Solution. When the first box is at the red X, move the other box down and right out of the way.)
You'll get one silver coin as a reward.
Go right to the church.
Place the Clover Bouquet in the empty right vase.
Use the Paint Kit to repaint the spot on the wall.
Clean up the stains with the Cloth.
Talk to the sheep as the dog.
Check under the candles in the prison to get another silver coin.
With two silver and the tart discount, the Guard Pretender will let you through.
8F
In dog perspective, dig in the spot with no flowers, and as a human, pick up the Clock Hands.
Put the Clock Hands on the clock in the next room. Changing the hour changes which door is open.
Put the correct statues in each room.
3:00 room: Retainer. 6:00 room: Harp. 9:00 room: Jester. 12:00 room: Devil.
9F
Take the path with the appropriate title for each painting.
Go into dog form to get hints from Porin.
The order is "Mother," "Starve," "Family," "Tea Time," "Overflowing Desire," "Sin," "Unease," "Redemption."
(MV version: "Starve," "Family," "Tea Time," "Overflowing Desire," "Sin," "Subordinate," "Unease," "Redemption.")
Extra Content
There's no special content on repeat playthroughs, but after beating the game once, you can skip past some parts.
Instead of showing Ann the Letter to Ann, show it to the soldier on 8F to enter the study.
On the Stairs to the Top Floor, use the Important Delivery in front of the door with the butler ghost.
The following content was added in the RPG Maker MV (browser) version, and is also in the regular version as of 1.10.
After entering the study as described above, Joshua will give you a Clover Ring. You can give this to Ann in town, and follow her to the study.
When you meet the girl on 9F and she asks if you're going to proceed, say no. Head back to the entrance (a servant will appear by the elevator to quickly take you to 1F) and leave the tower.
Extra Links
There's a short storybook-style "novelization" that was released slightly before the game. They're basically the same story, but the game actually provides more information, so I would play it first.